Quick Tour of Personal Settings Page
You can click [Username] at the top right of the page and click [My Profile] in the drop-down menu to enter the personal settings page.
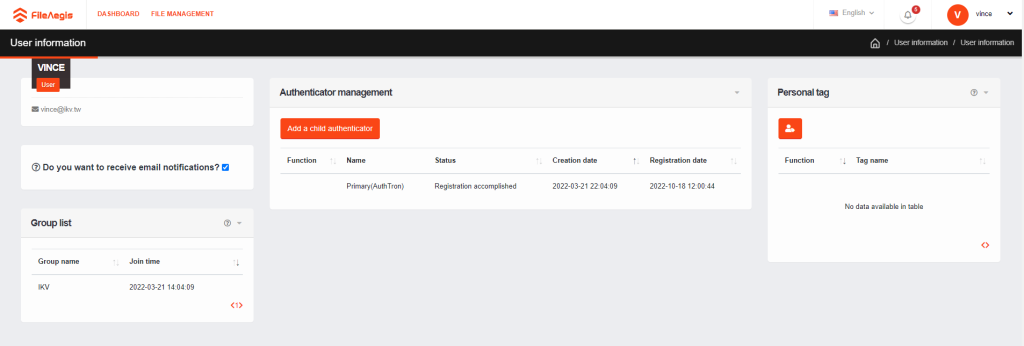
(1) User information and email notification (top left)
Your email address is displayed here, and you can decide whether to receive email notifications. If checked, the system will automatically send email notifications to your email address when a file is received.
(2) Group information (bottom left)
You can see which groups you are in. All group settings are done by the administrator. You can share files with any group created in the system.
(3) Authenticator Management (middle)
- Add a child authenticator
- Add a child authenticator (mobile)
- Rename an authenticator
- Deregister an authenticator
- Delete a child authenticator
Displaying your first registered authenticator
Add a child authenticator
Click ![]() and then a form will pop up. Please enter the [Name] of the child authenticator and set the category as AuthTron. You can also set the category as [Others (device)] if needed. Click [Create].
and then a form will pop up. Please enter the [Name] of the child authenticator and set the category as AuthTron. You can also set the category as [Others (device)] if needed. Click [Create].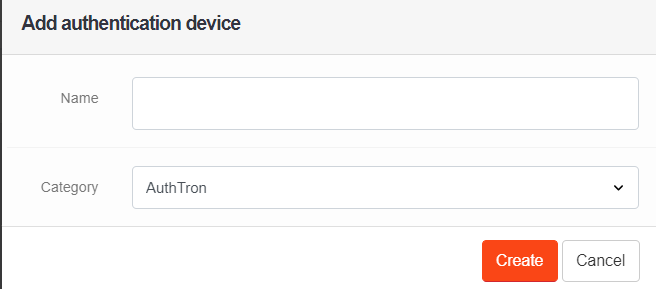
As you click [Create], an information box will pop up for confirmation. Click [Sign Up]. 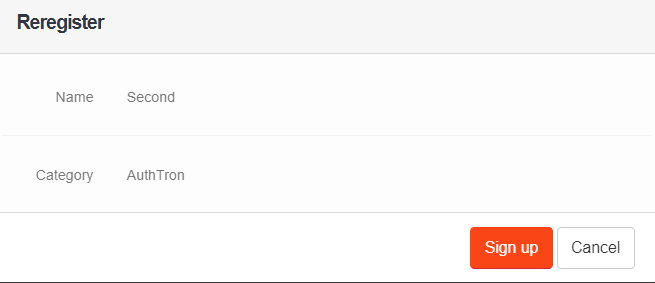
A [Security Setup] box will pop up. Click [OK]. 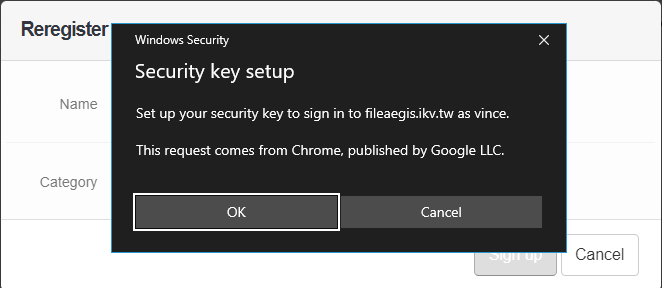
A [Continue setup] box will pop up. Click [OK].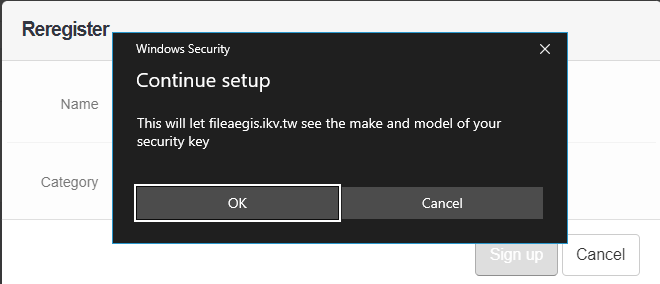
Plug the security key into the USB port. Then Enter the PIN of the security key and click [OK]. 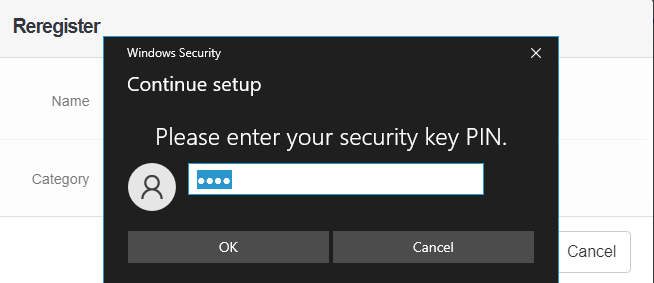
Touch your security key.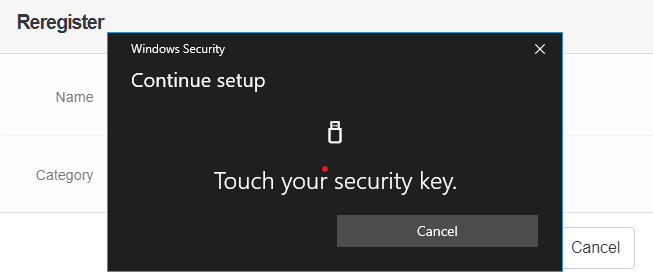
The child authenticator was successfully registered.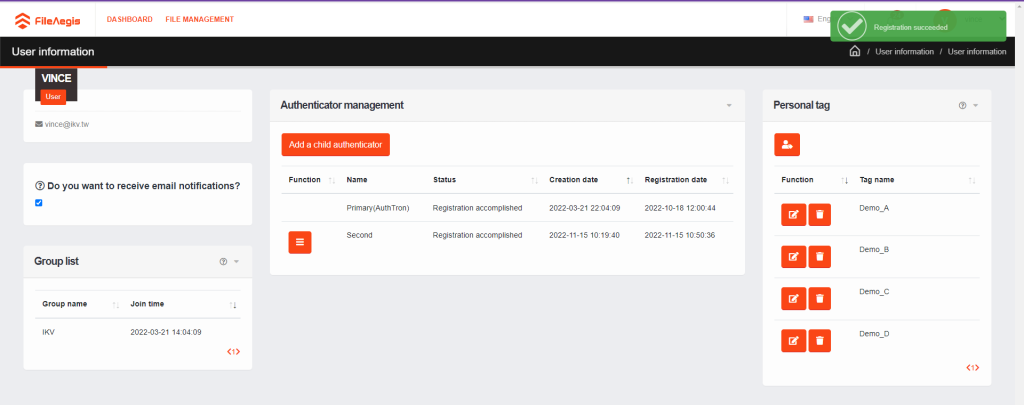
If the system idles for more than 90 seconds without any authenticator plugged, there will be a popup window. Click [Close] to go back to the main page. Click ![]() and select [Register] to continue.
and select [Register] to continue.
Add a device authenticator
If you want to add a device authenticator, click ![]() and then a form will pop up. Please enter the [Name] of the child authenticator and set the category as [Others (device)]. Click [Create].
and then a form will pop up. Please enter the [Name] of the child authenticator and set the category as [Others (device)]. Click [Create].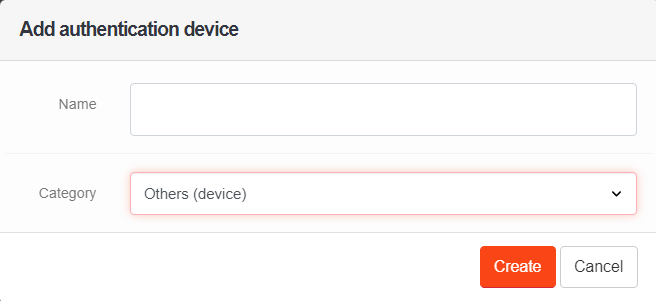
Then a QR code will pop up. Scan the QR code with your device authenticator (smartphone or tablet). 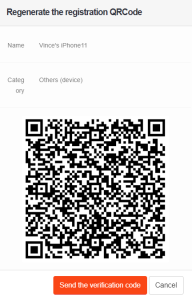
The following steps may differ depending on the operating system of your device authenticator.
- Click [Send the verification code].
- Go to your mailbox and check the verification code.
- Enter the verification code on the FileAegis portal displayed on your device authenticator and click [Sign up].
- Set the key on your smartphone or tablet according to the operating system (iOS/Android).
After the registration succeeds, you can log in with your device authenticator.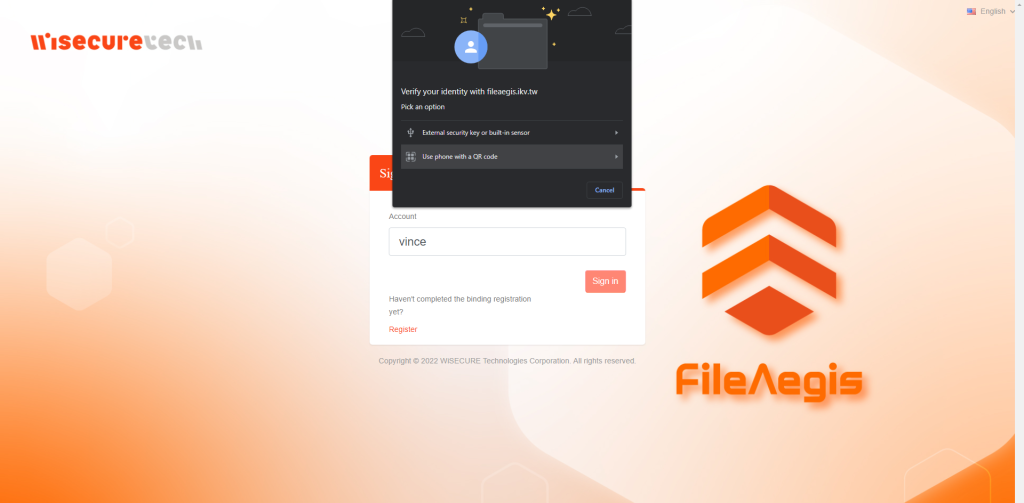
Rename an authenticator
If you would like to rename an authenticator, log into FileAegis with your primary authenticator. Then go to the profile page. 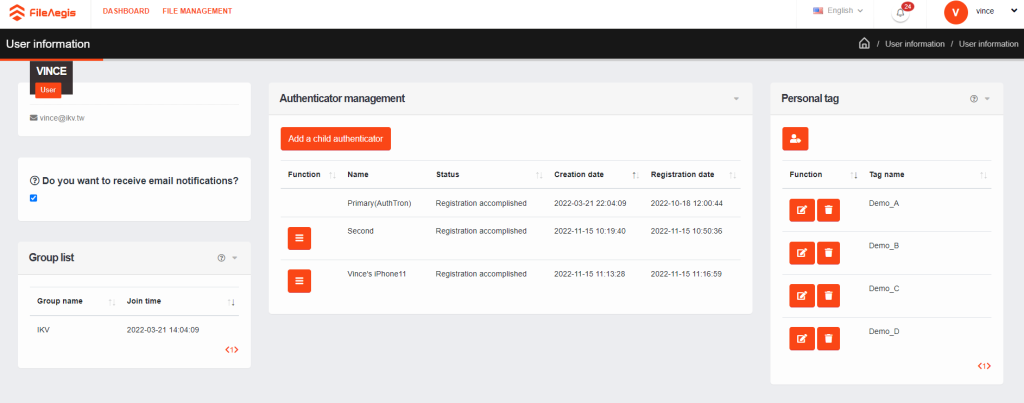
Click ![]() to the left of the device you would like to rename and select [Rename the device]
to the left of the device you would like to rename and select [Rename the device]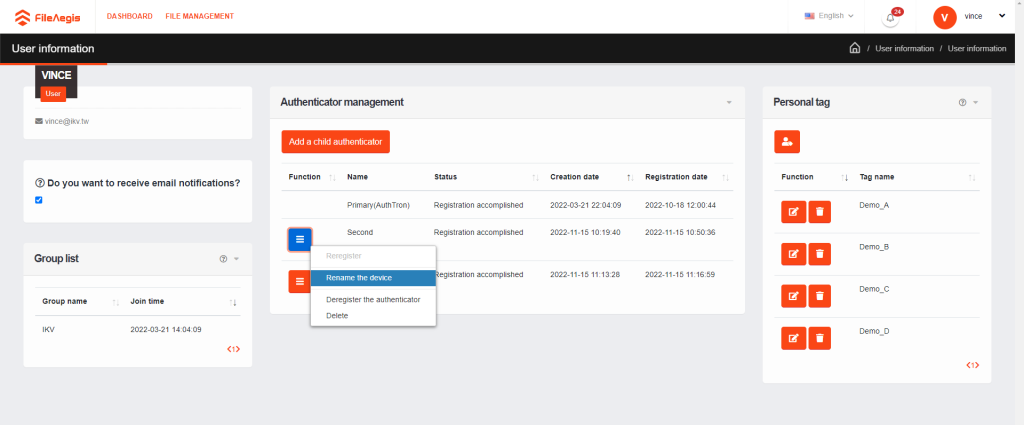
Enter the new name of the authenticator. Click [Confirm]. 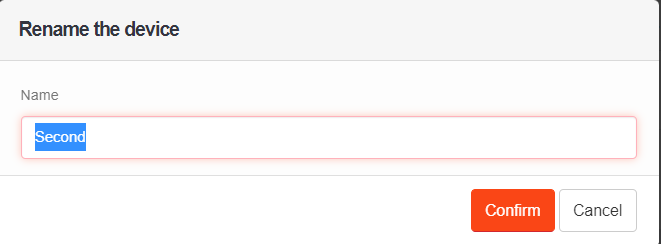
Then the device is successfully renamed.
Deregister an authenticator
If you would like to deregister an authenticator, click ![]() to the left of the authenticator you would like to deregister and select [Deregister the authenticator].
to the left of the authenticator you would like to deregister and select [Deregister the authenticator].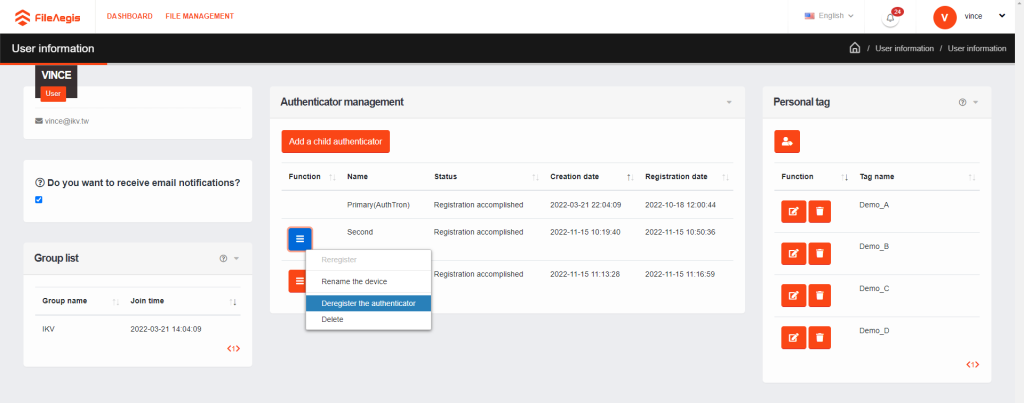
After you click [OK], the authenticator will remain on the list. However, it can no longer be used to log into FileAegis unless you register the authenticator again.
Delete a child authenticator
If you would like to delete an authenticator from the list, click ![]() to the left of the authenticator you would like to delete and select [Delete].
to the left of the authenticator you would like to delete and select [Delete].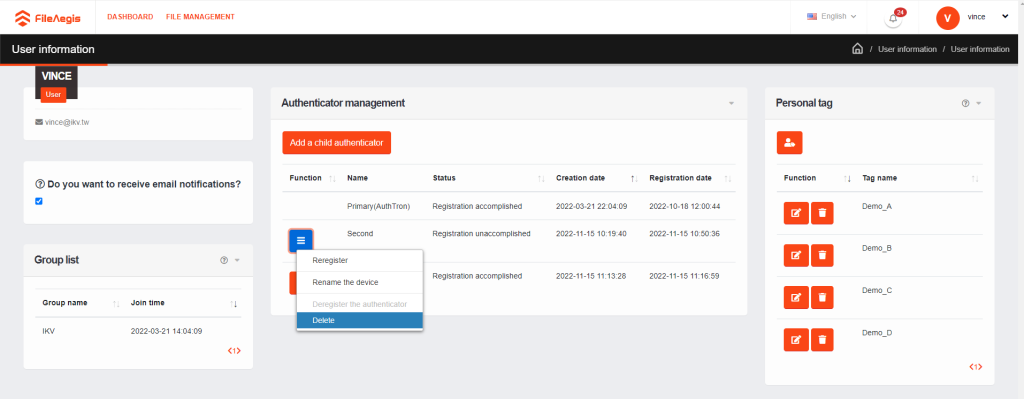
Click [Ok] and then the authenticator will be deleted from the list.
(4) Personal tag management (right)
You can create, rename, or delete your tags here. Personal tags can only be viewed and used by you. Other users cannot see the information of your personal tags. For more information, please refer to Tag usage.
- Create a personal tag
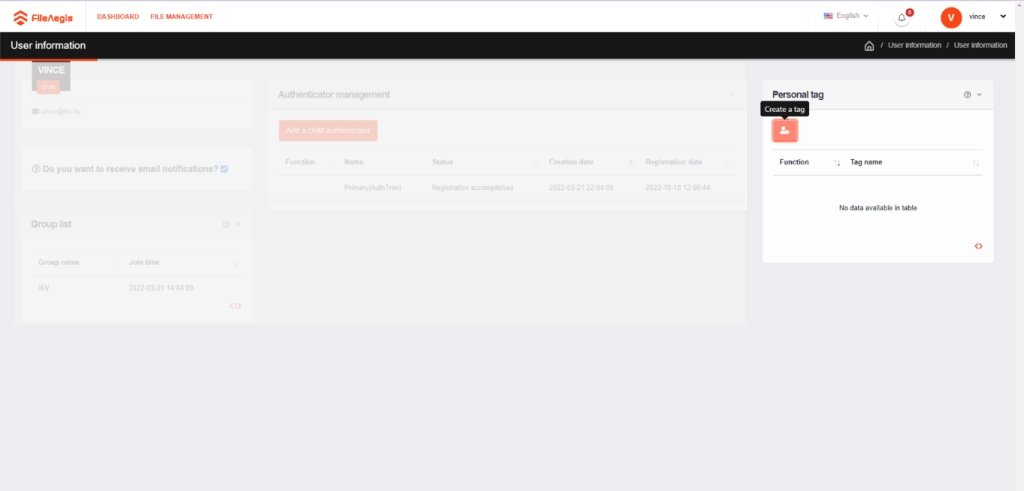
a. Please enter a [tag name] and click [Create] in the page of user profile.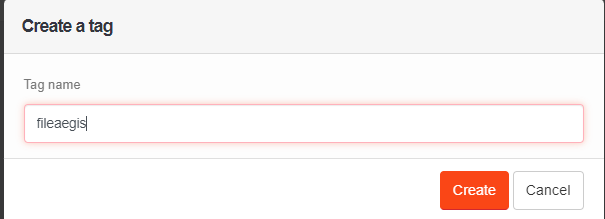
b. As shown below, a personal tag has been created.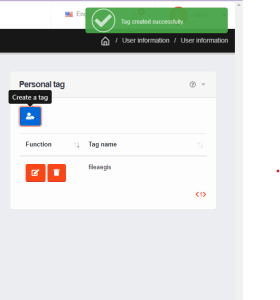
- Rename a personal tag
a. Please click the icon of the personal tag to be renamed, and a window of “Rename a tag” will pop up. Please click [Confirm] after entering a new name.
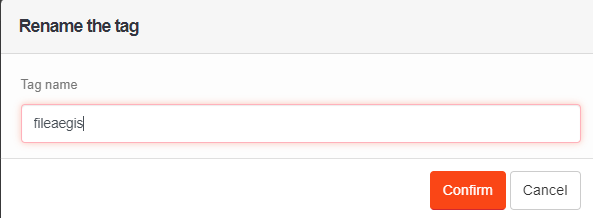
b. A window of [User information] will pop up. Please click [Confirm].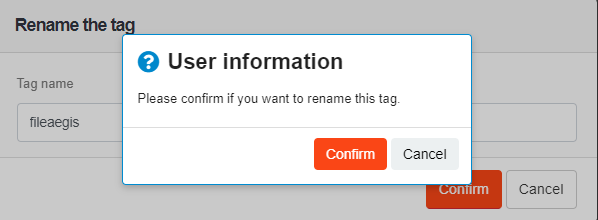
c. As shown below, a personal tag has been renamed.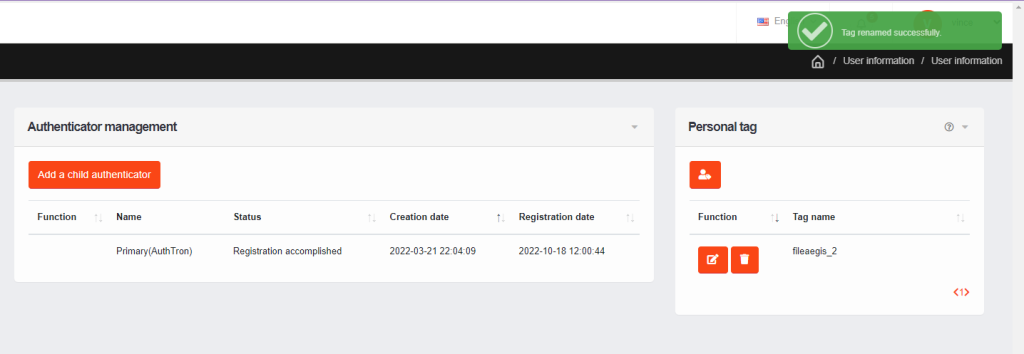
- Delete a personal tag
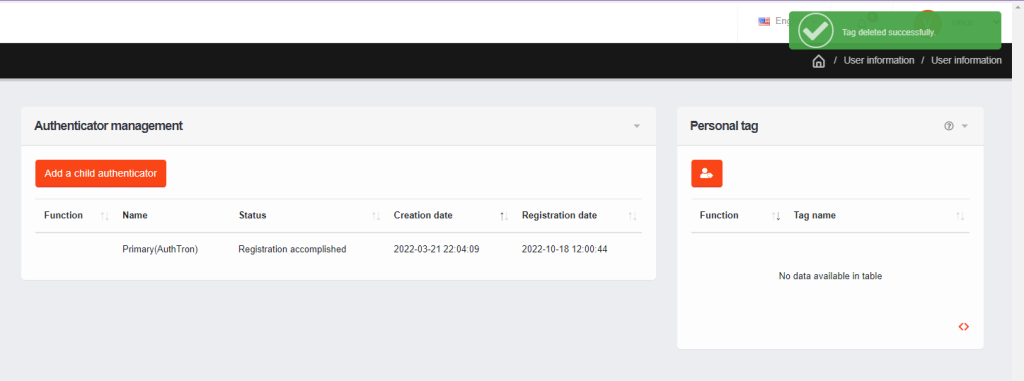
a. Please click the icon of the personal tag to be deleted, and a window of “File management” will pop up. Please click [Confirm].
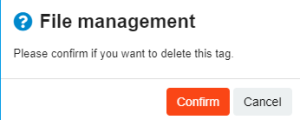 b. As shown below, a personal label has been deleted.